Photography Tips & Tricks At Home
Are you a parent, expecting a new baby, or perhaps even an entrepreneur?
Now that we have all been home for some time, I’ve been making a running list of all the things I want to accomplish. All of the blog posts I want to write, art projects to create with my littles, rooms in my home I want to organize, the online education courses I’ve been putting on the back burner…the list goes on.
The most important part of this, however, is that I am not putting any pressure on myself to get it all done. I am intently focusing really hard on being present with my family, myself, and my clients. Checking in on everyone. It’s certainly not perfect- but nothing is, and neither am I.
Part of my journey now as solo female entrepreneur, is that I have officially added my education component. It is right here on my website! It will be slow to grow, but my intent is that I can help anyone and everyone with becoming a little more creative each day. Whether it’s learning something new or polishing a skill. I am a forever learner and I’d love to help others continue to be too. Even though I have found my niche I love to break it down in to all the pieces and parts that complete it, and then teach about it.
So without further ado, here is my first educational post on how to have a little fun with your camera now that we are home. Get it out, dust it off, cause here we gooooo!!!!
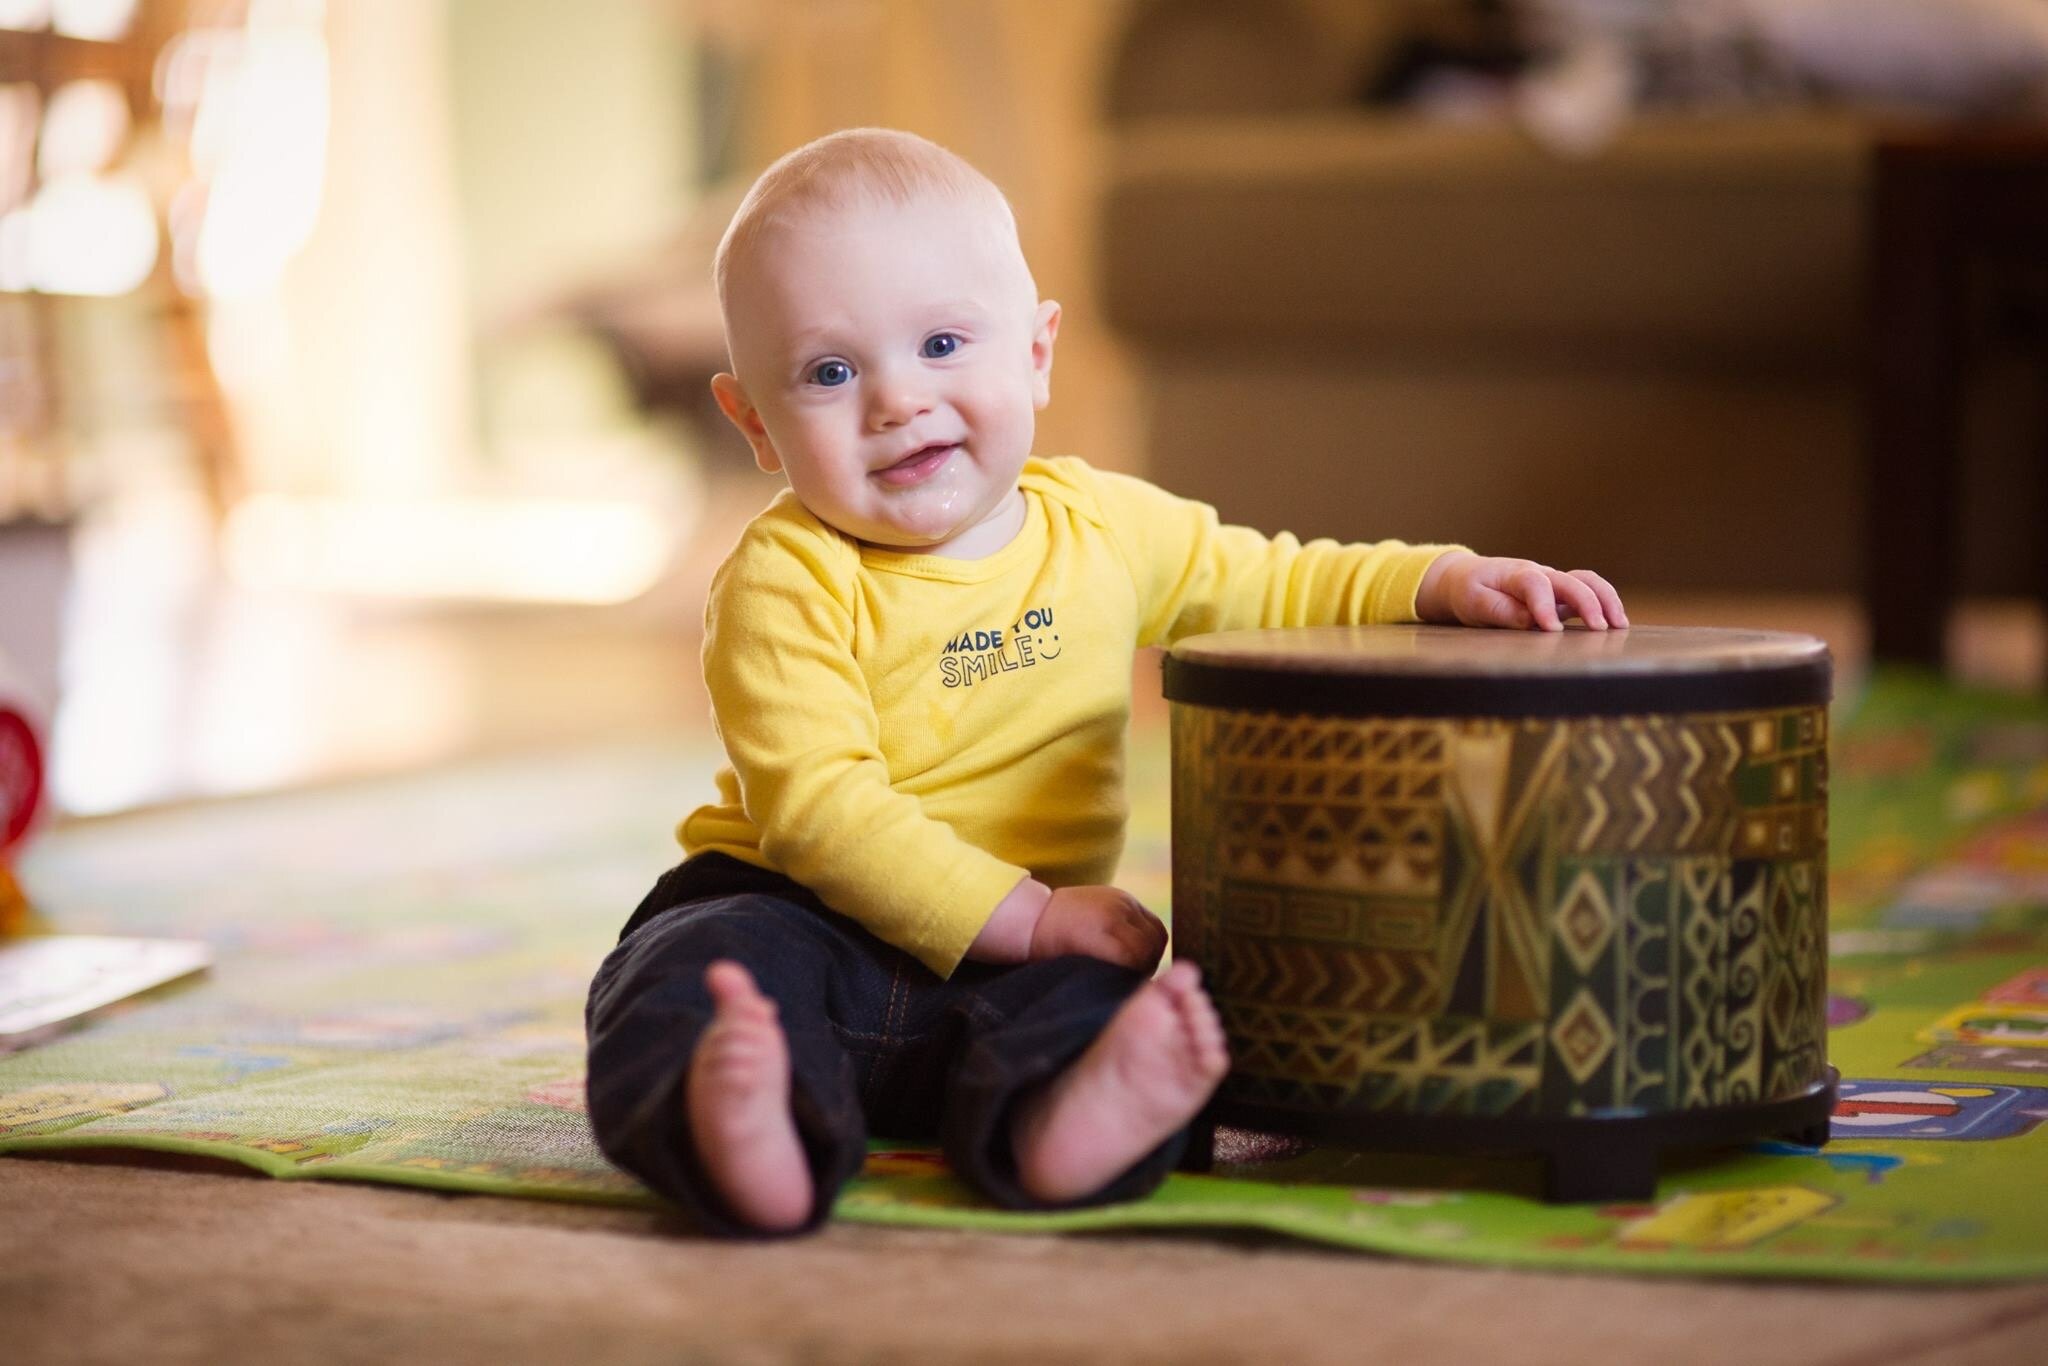
1. LIGHT
Light is number one in my book! When we moved into our home in 2015, I didn’t know as much about light as I do now. After some time I made it a point to observe and find areas of my house where direct and indirect pour in. The closer you are to the light, the softer it will be on the subject. The farther away, the harder the light.
So what does this mean?
Look around your house at different times of the day. When does the light pour in? What direction does your house face? At what time of day does light indirectly pour into your space? Where there is light, there is opportunity for beautiful photos. Three ways to photograph in front of a window:
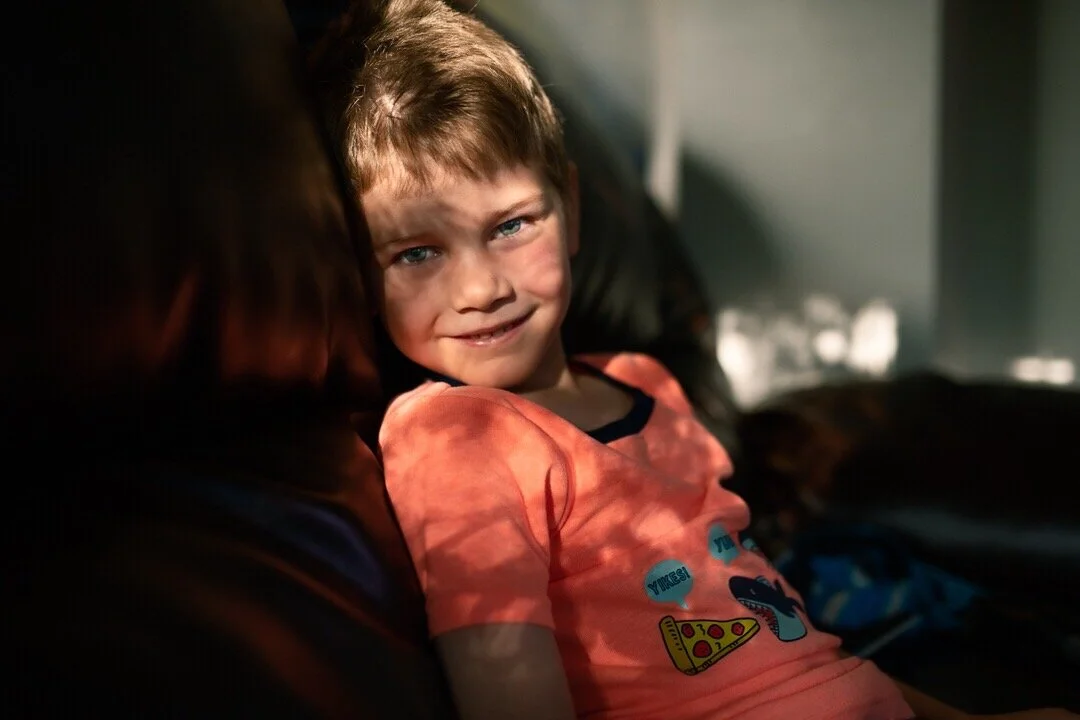
Directly facing the window. Try directly placing your subject facing the window,
Turned at a 90º angle. The light will create more drama with the light and shadow on the with the subject.
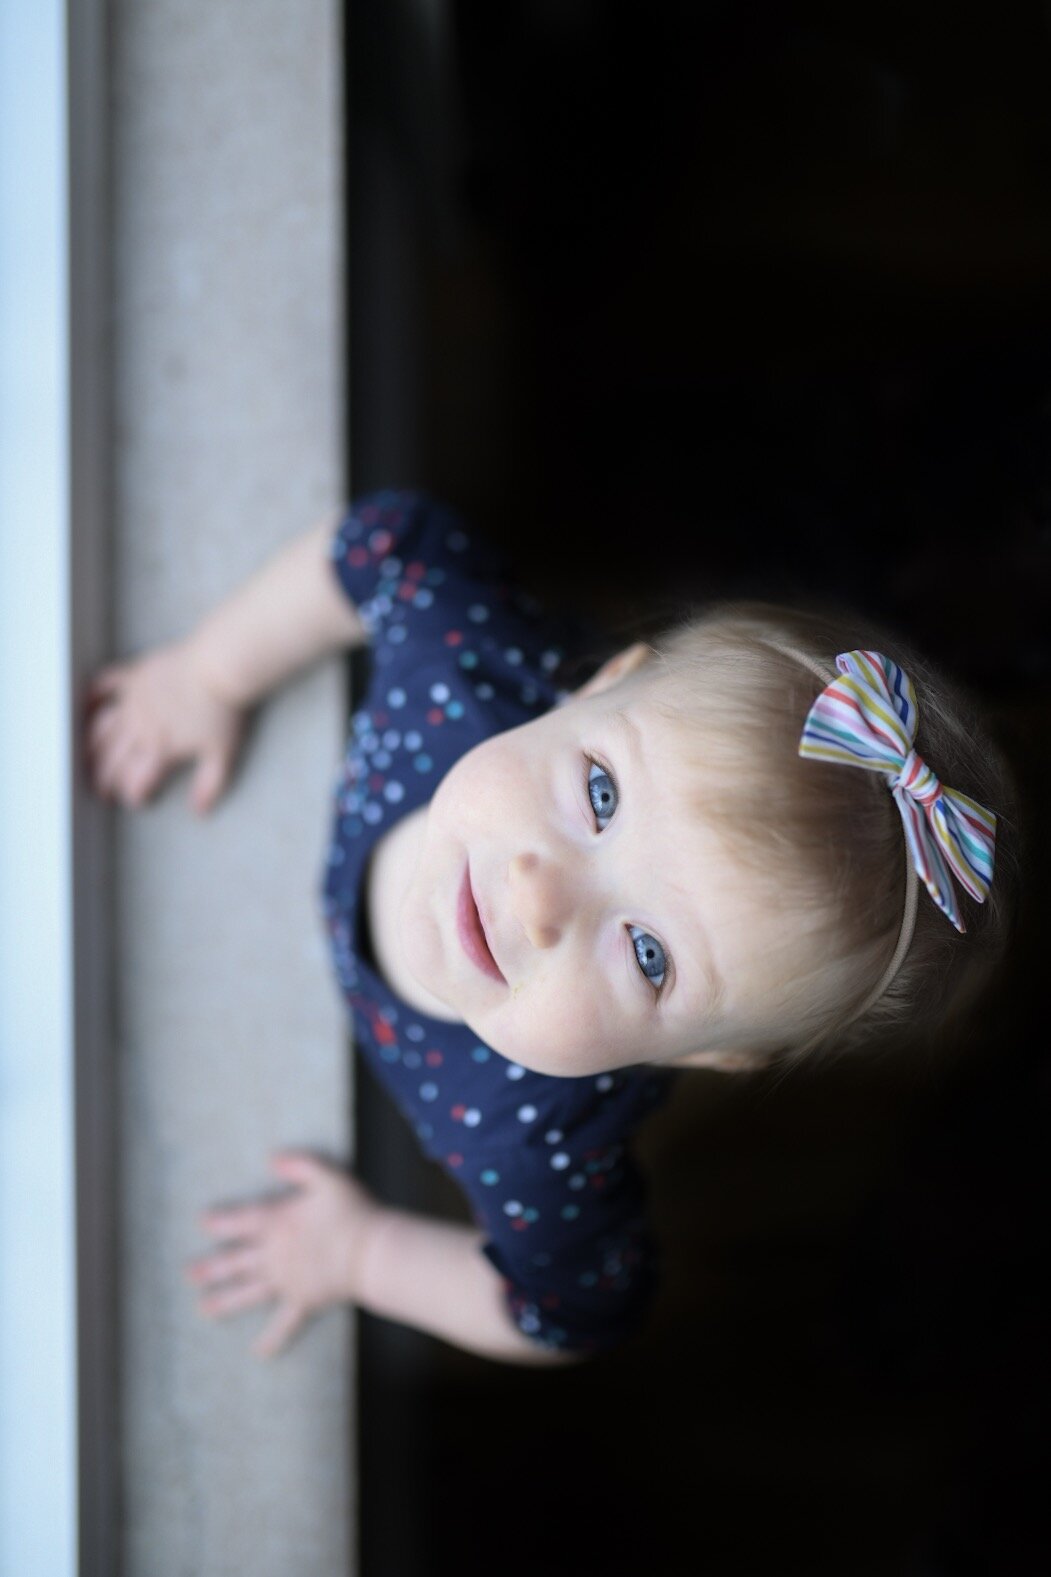
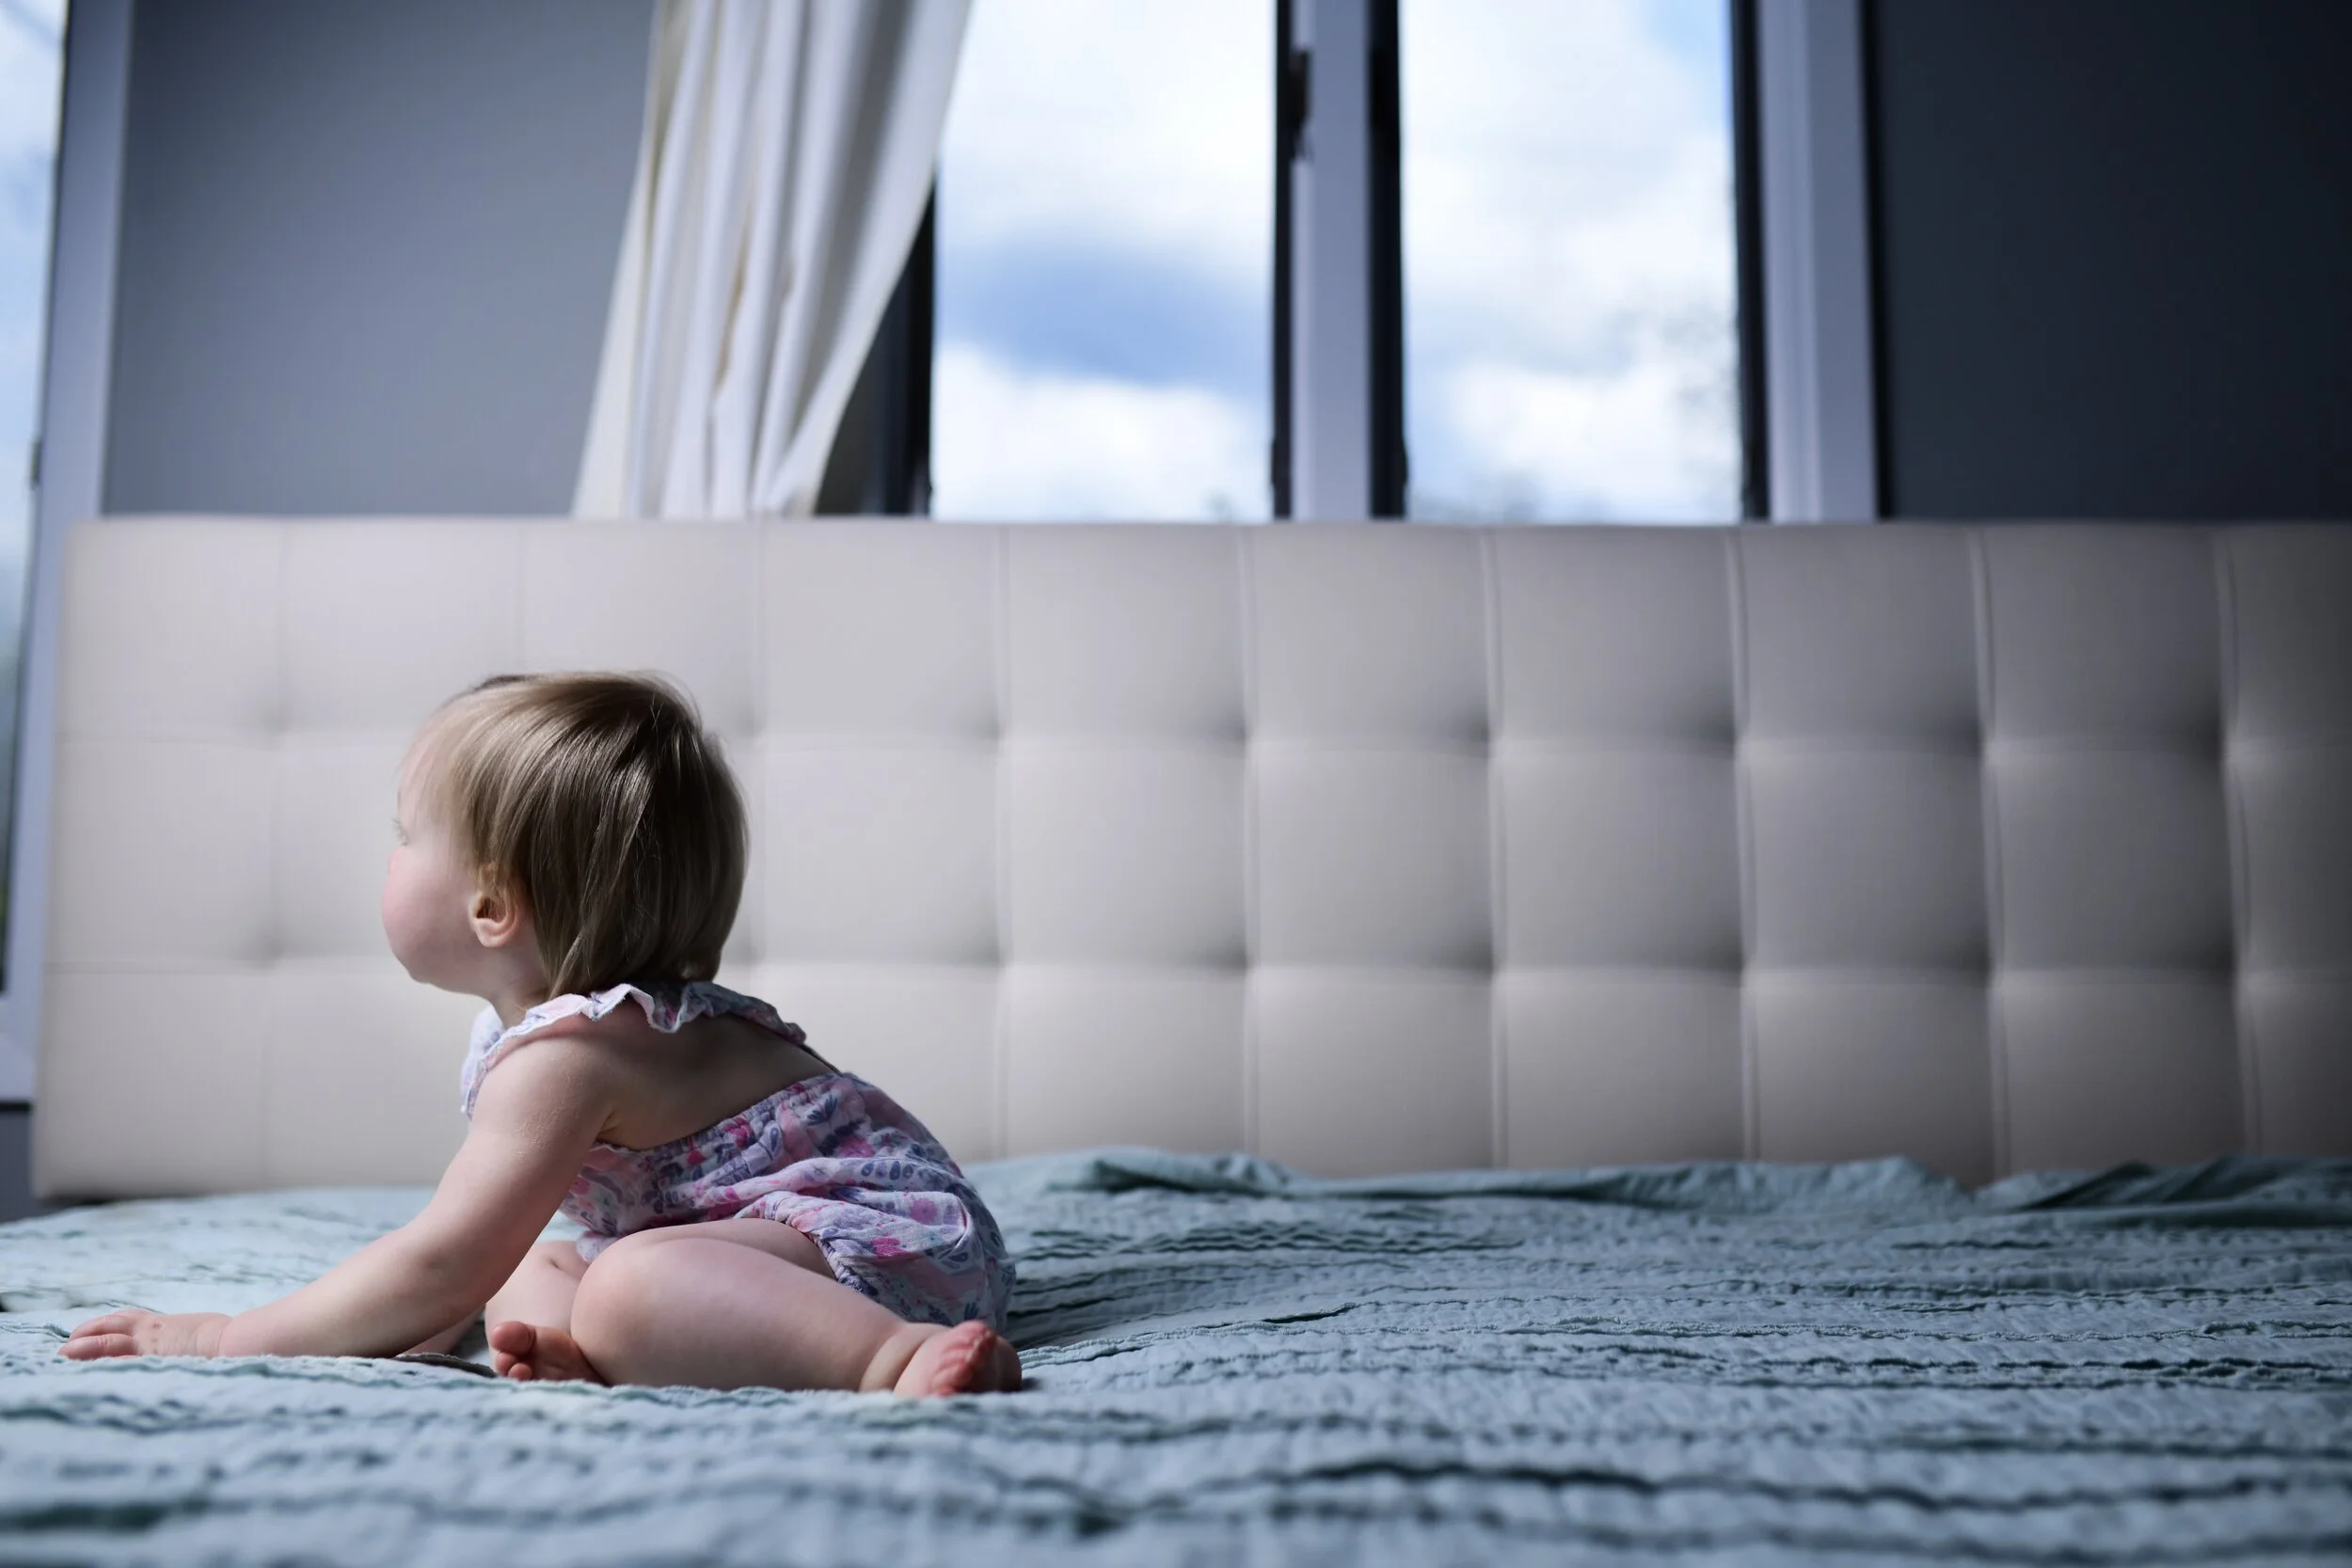
Backlit. Subject turned completely away from the window. This can be a fun way to create a silhouette or rim light (where the light bends and curves around the subject just enough to completely illuminate the outline). In the photo below, she is close to the light and backlit, creating soft illumination all around.

Backlight and Bubbles | Sarah Beirne Photography
There are two main types of natural light: direct and indirect. Direct would mean the sun is shining right into your home. You can play around with fun light and shadows by photographing in this light. (See below). Indirect provides even light to photograph in using the three ways above.
Light and Shadow | Sarah Beirne Photography
2. COMPOSITION
Okay, okay, I may be using big terms here- but this really matters. Here is the direct definition of composition according to the Online Miriam Webster Dictionary:
a: the act or process of composing
specifically : arrangement into specific proportion or relation and especially into artistic formHere are some tips to creating striking compositions.
You can create a striking image using different angles and placement of your subject, and what is happening in the rest of the frame matters too!
So here are a few ways to create some striking compositions:
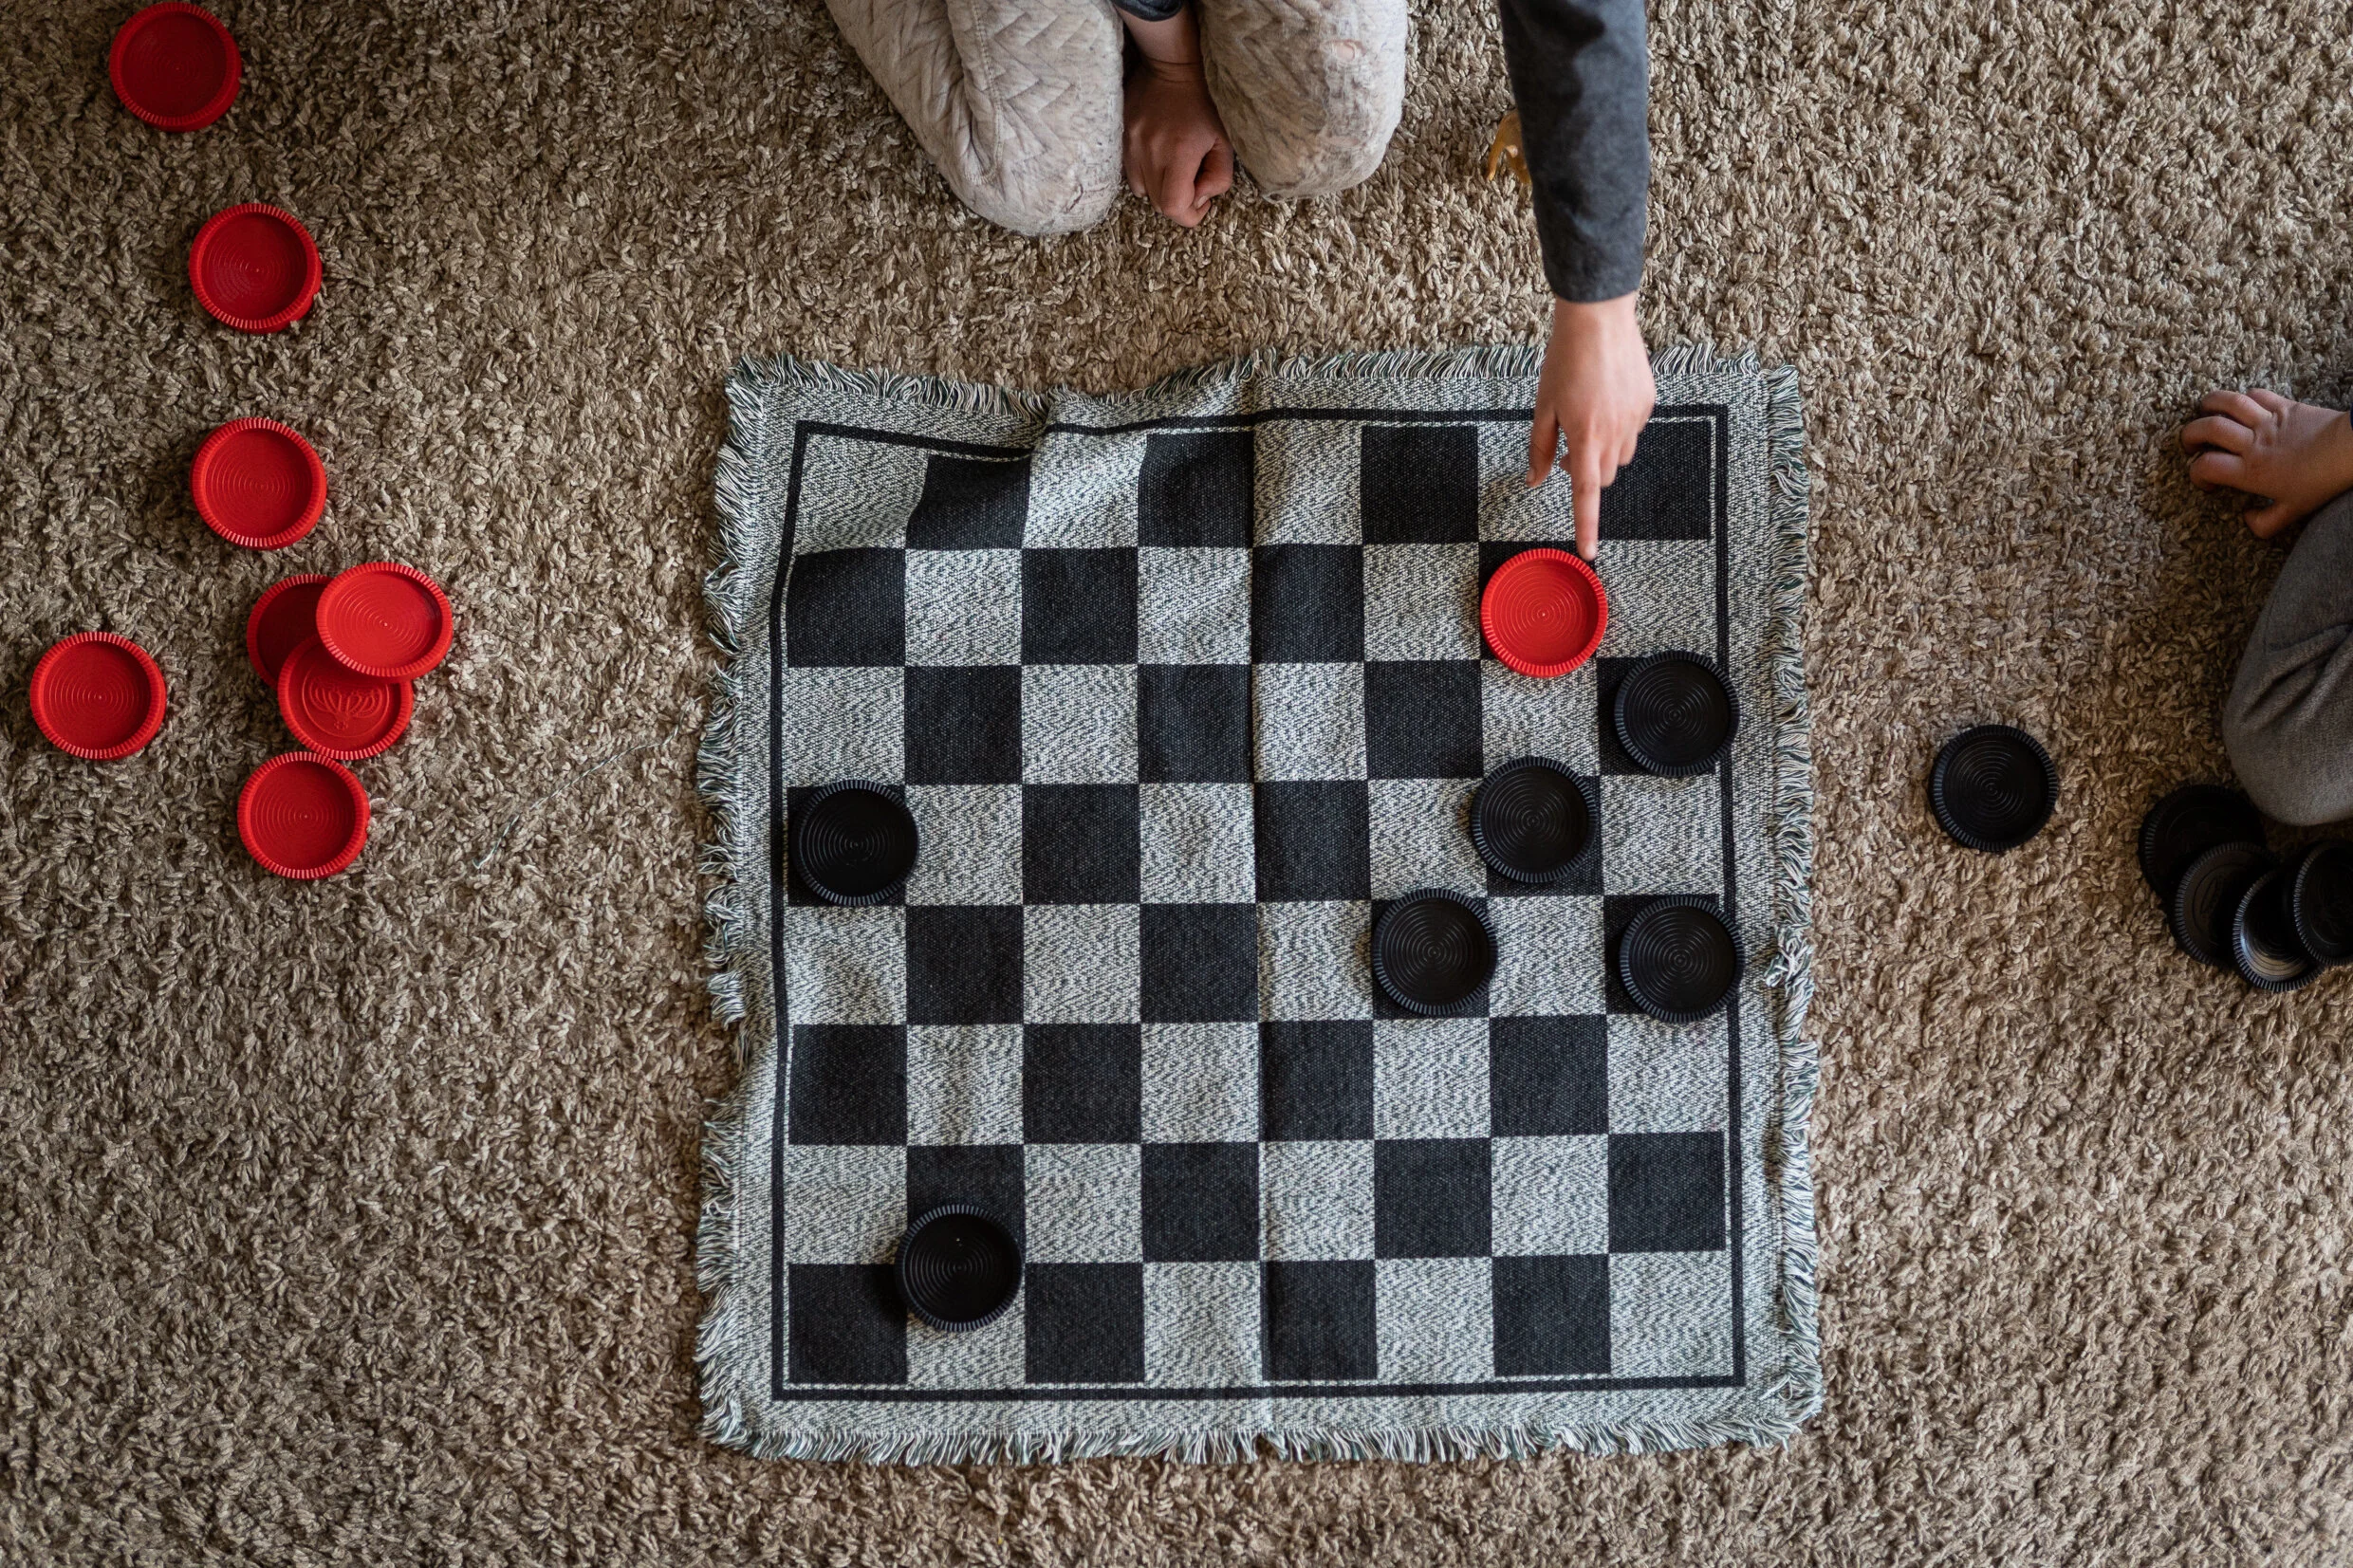
Reduce the clutter. Focus on your subject(s) and what they are doing. If there is too much distraction in the frame around your subject, the viewer’s eye will be lost. Trust me, with three kids we have a LOT of clutter! Just throw it in the other room or behind you like I do while you compose your shot.
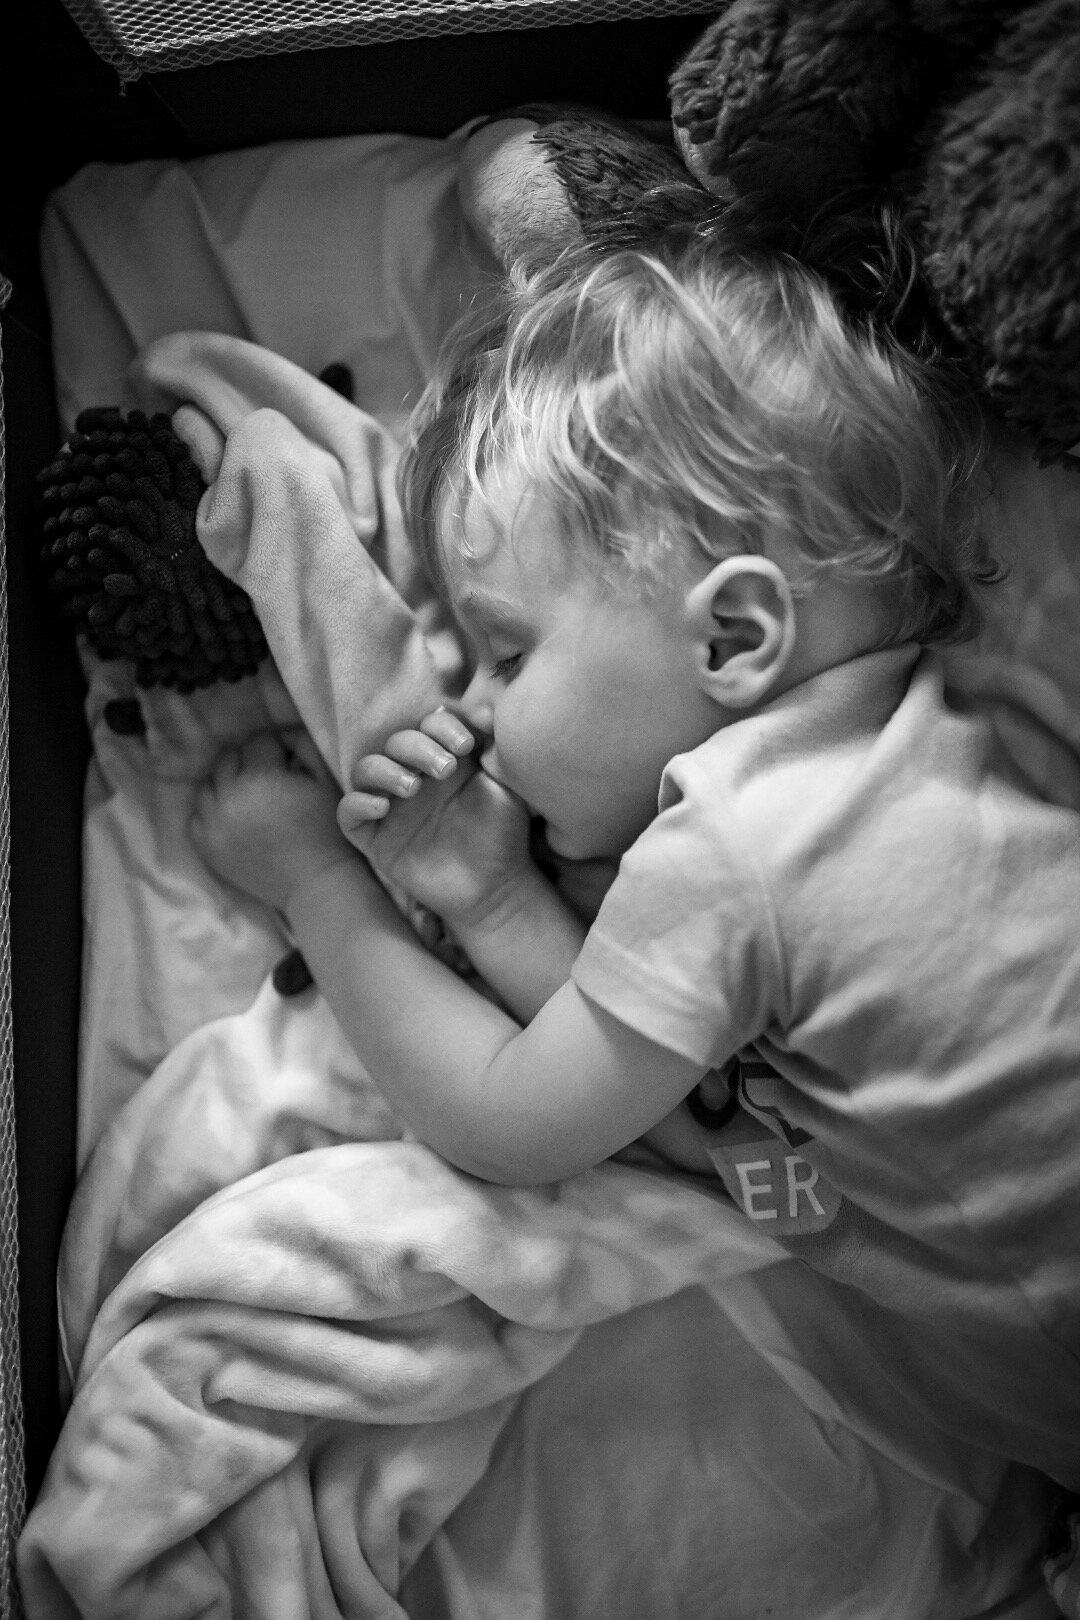
Perspective. Have some fun photographing from different angles. (See photos below)
Stand on a chair and photograph from above.
Belly on the floor- When photographing a scene and telling the story of what is happening, get down on the floor and tilt the camera at a slight angle so it aims a little bit off the floor.
Get right on the subjects level.
Rule of thirds. You might hear this one a lot! Simply means place the subject off center of the frame. The empty space (or negative space) draws your eye in to the subject.

Perspectives | Sarah Beirne Photography
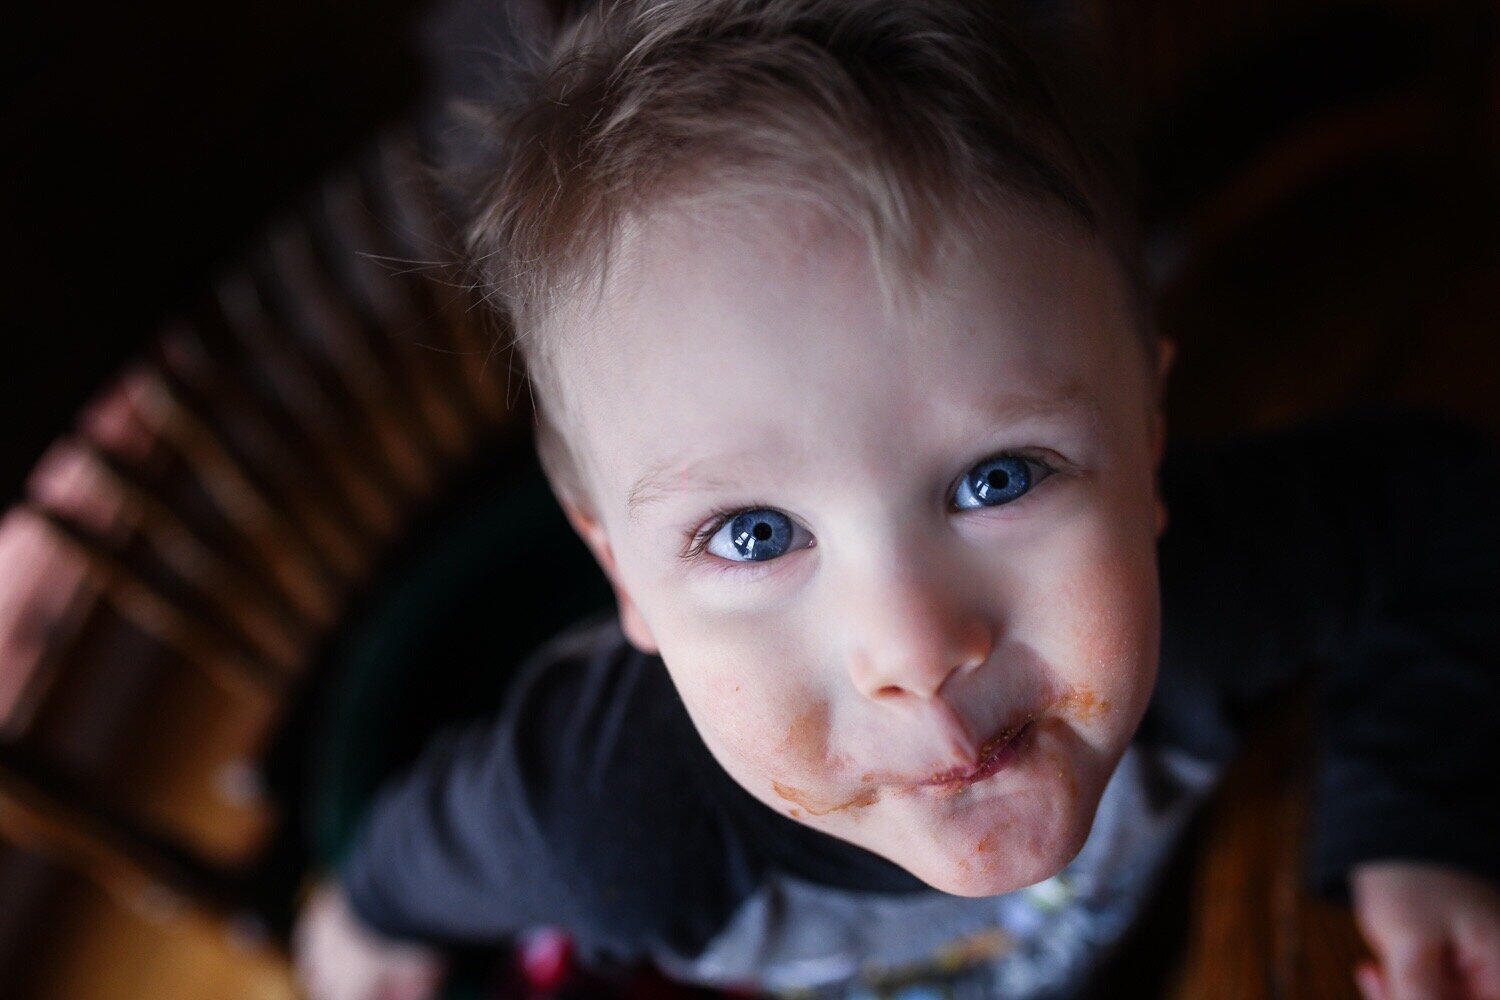
3. DETAILS
Capture alllll the details and happenings at this time in your life. Document the good days, the bad days, and every day in-between. Get close with the camera, use the different angles to capture the moments that really tell your story.

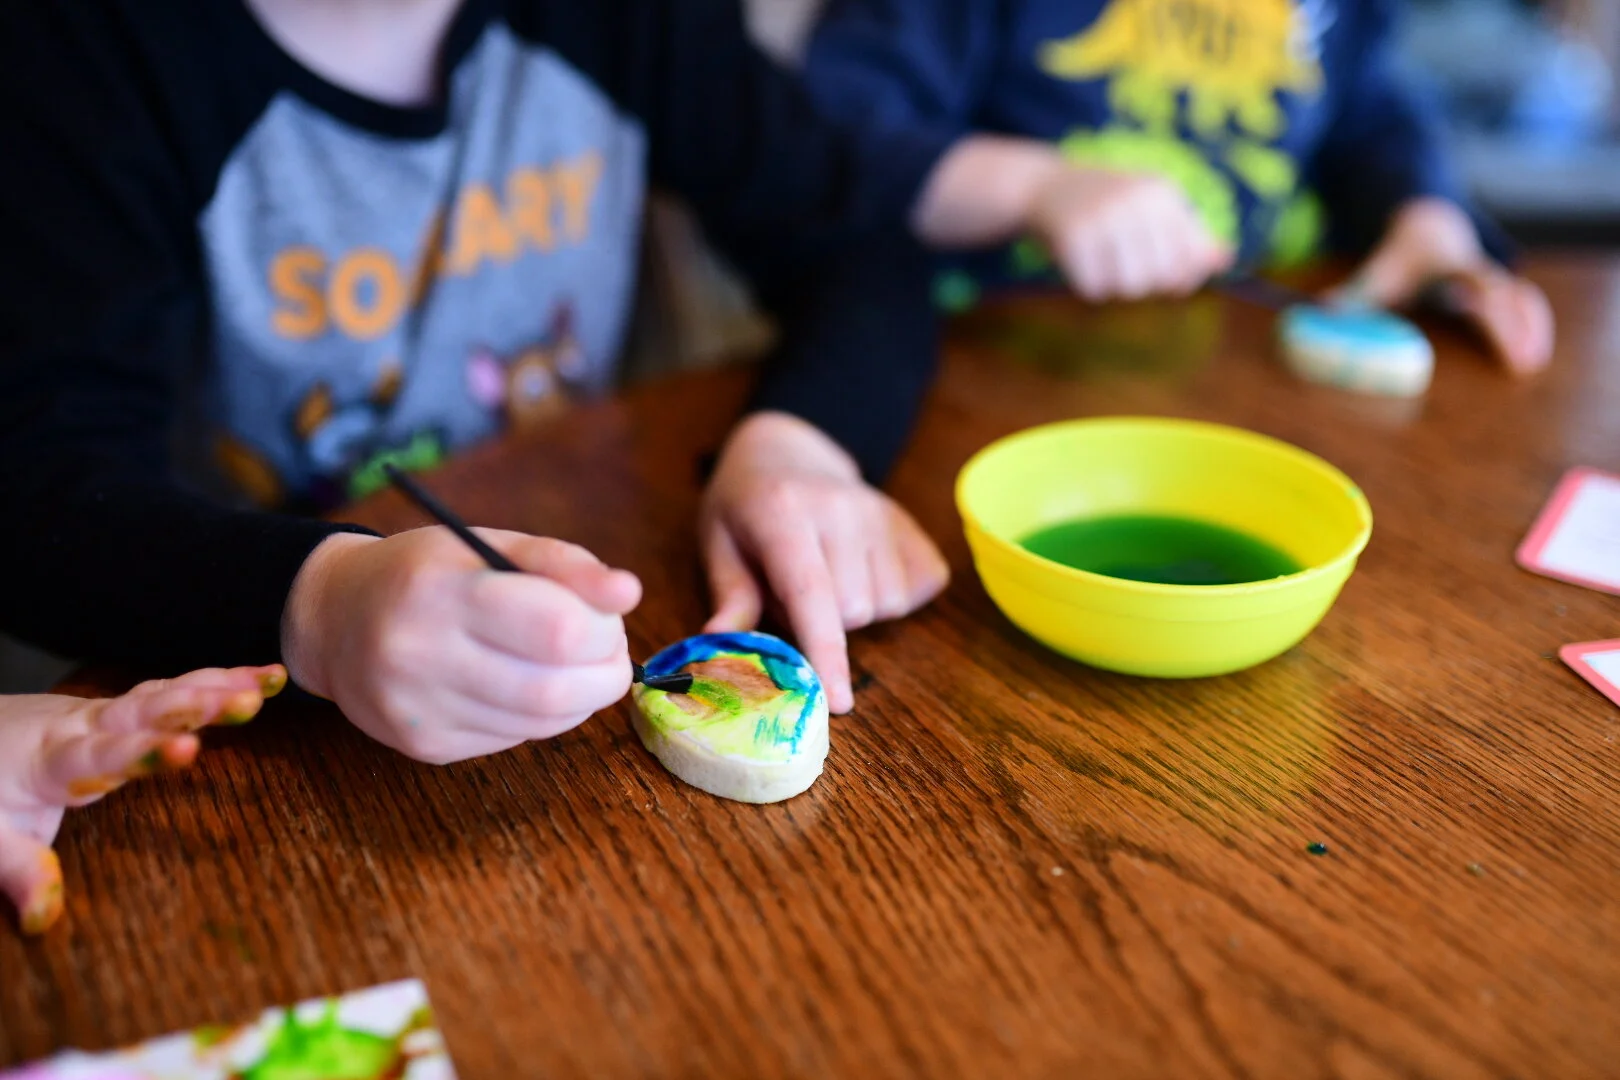

All in all, have fun documenting the moments. Let go of all expectations and play around using these techniques. My hope is that you will be pleasantly surprised with what you create!
Like what you read? Would you like to learn more or perhaps some quick editing techniques? Comment below what you’d like to learn next! 👇🏻👇🏻
Can’t wait to see what you create!
XO,
Sarah